Light painting on a black canvas
September 1, 2025
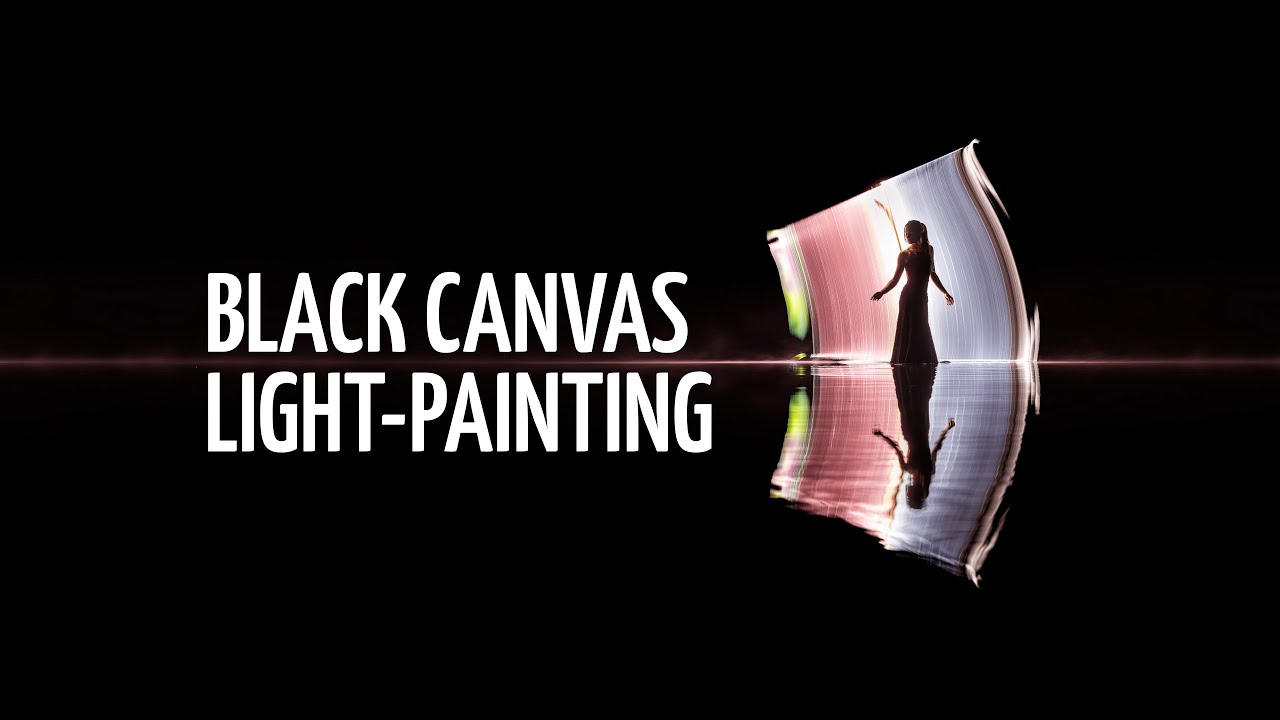
Black canvas is the simplest and most accessible approach to outdoor tube light painting. By not including most of the landscape elements in the long exposure captures, it focuses on the essence of the technique: the human subject and the light painting itself.
At the core of our outdoor light-painting practice, we aim to incorporate the landscape and its vastness into our images. Whether it’s during the blue hour or at nighttime with the Moon, the stars, the Milky Way or the auroras, our goal is always to make the light painting part of the environment. The background and surroundings are integral to the composition.
But sometimes, we do the opposite. This is what we call the Black Canvas.
When to Use Black Canvas
There are many reasons why you might choose to eliminate the landscape in your images.
Technical reasons:
- Uninteresting background (such as ugly clouds at the end of the blue hour)
- Heavy cloud coverage during nighttime
- Distant light pollution messing the composition
- Unwanted ambient light effects when shooting long exposures (6+ seconds)
Creative reasons:
- A desire for minimalist images
- Emphasis on light shapes and colors
- Practice and experimentation without environmental constraints
Simply put, you can create black canvas images when there’s no strong ambient light, artificial or natural.
How it started
These two examples dates back to 2016. Back then, letting go of the background was not a choice. Loosing the background was simply the result of not understanding or mastering the setting progression during the blue hour. This was right before we understood we needed to expose for the background first!
Black Canvas is great for people beginning their outdoor light-painting journey, mostly because unless the ambient light changes significantly, the settings remain the same for the entire session. Also, composition is pretty straightforward because there are less elements to take into consideration. This gives more time and space to practice light-painting shapes and experiment with the ways light impacts the model. It’s the closest thing to practicing in a studio that you can get.
Camera Settings
Starting point to play with the Black Canvas technique
- Exposure: 4 seconds (light painting ~4 sec. or less)
- Aperture: f/6.3
- ISO: 200
- Flashlight: max power (2000 lumens)
Quick Adjustments
- If the light-painting trace is too dark: Increase the ISO or use wider aperture
- White balance: Adjust based on the tube color you choose
Favorite Tubes
With no landscape to harmonize or contrast with, you can experiment with a great variety of colors. These are the tools we recommend:
- Holographic tubes. They create rich, saturated colors that pop against the dark background
- Holographic feathers. They add an unpredictable iridescent effects to the trace of light.
- Multiple color combinations. With no need to "match" the environment, you can get more creative with your color choices
Composition Tips
We always use reflection to add depth to the image when shooting Black Canvas. Central composition usually works best, as it keeps the focus on the main elements: the light painting, the model, and their reflection.
If using water reflections:
- Include the entire reflection in the frame whenever possible
- For windy/wavy conditions: Frame vertically for more abstract reflection space
- Any body of water works: puddles, lakes, creeks, ocean shores, etc.
Steam fog
Working with steam fog is a great way to introduce another landscape element to black canvas images. It also adds a bit of mystery and magic, doesn’t it? For that, you need warm water and cold air. Steam fog forms when cold air moves over warmer water, condensing water vapor into fog as it rises and meets the cooler air. It's possible to capture it above the water surface of shallow and calm body of water before dawn, especially during late summer/early fall.
Here’s how we do it: I make the light-painting shape, take the flashlight out of the tube and make a quick pass close to the water surface, on each side of Kim. This can be done within a single exposure, but you can also make two separate images back to back (one for the light painting, one for the steam fog) and merge them in post. That’s up to you!
It’s satisfying to do it in a single shot, but doing it in two frames gives more room for adjustments to harmonize the colors and light brightness.
Why we love the black canvas
No sky. No background. Nowhere to hide. This approach brings us back to the roots of the technique, inviting us to embrace minimalism and create light in darkness.
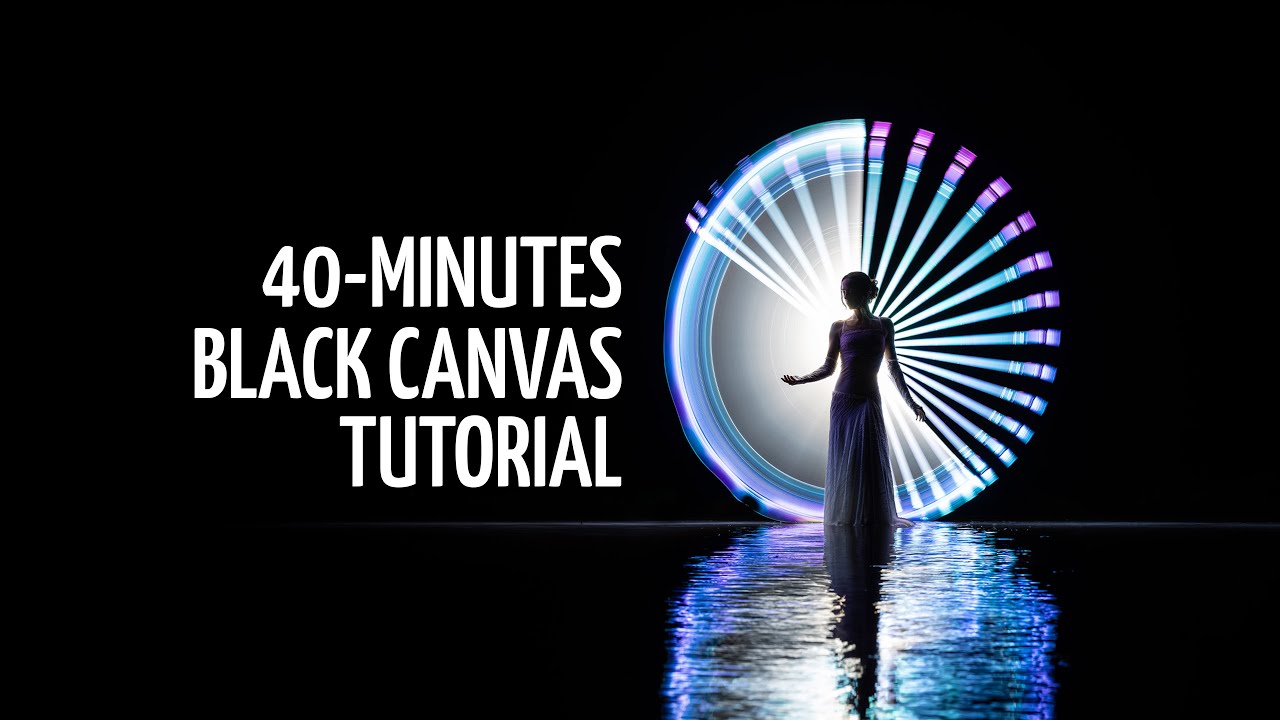
Watch our poetic demo or the complete 40-minutes tutorial on our Youtube channel