Roll your own light-painting tube (DIY / travel option)
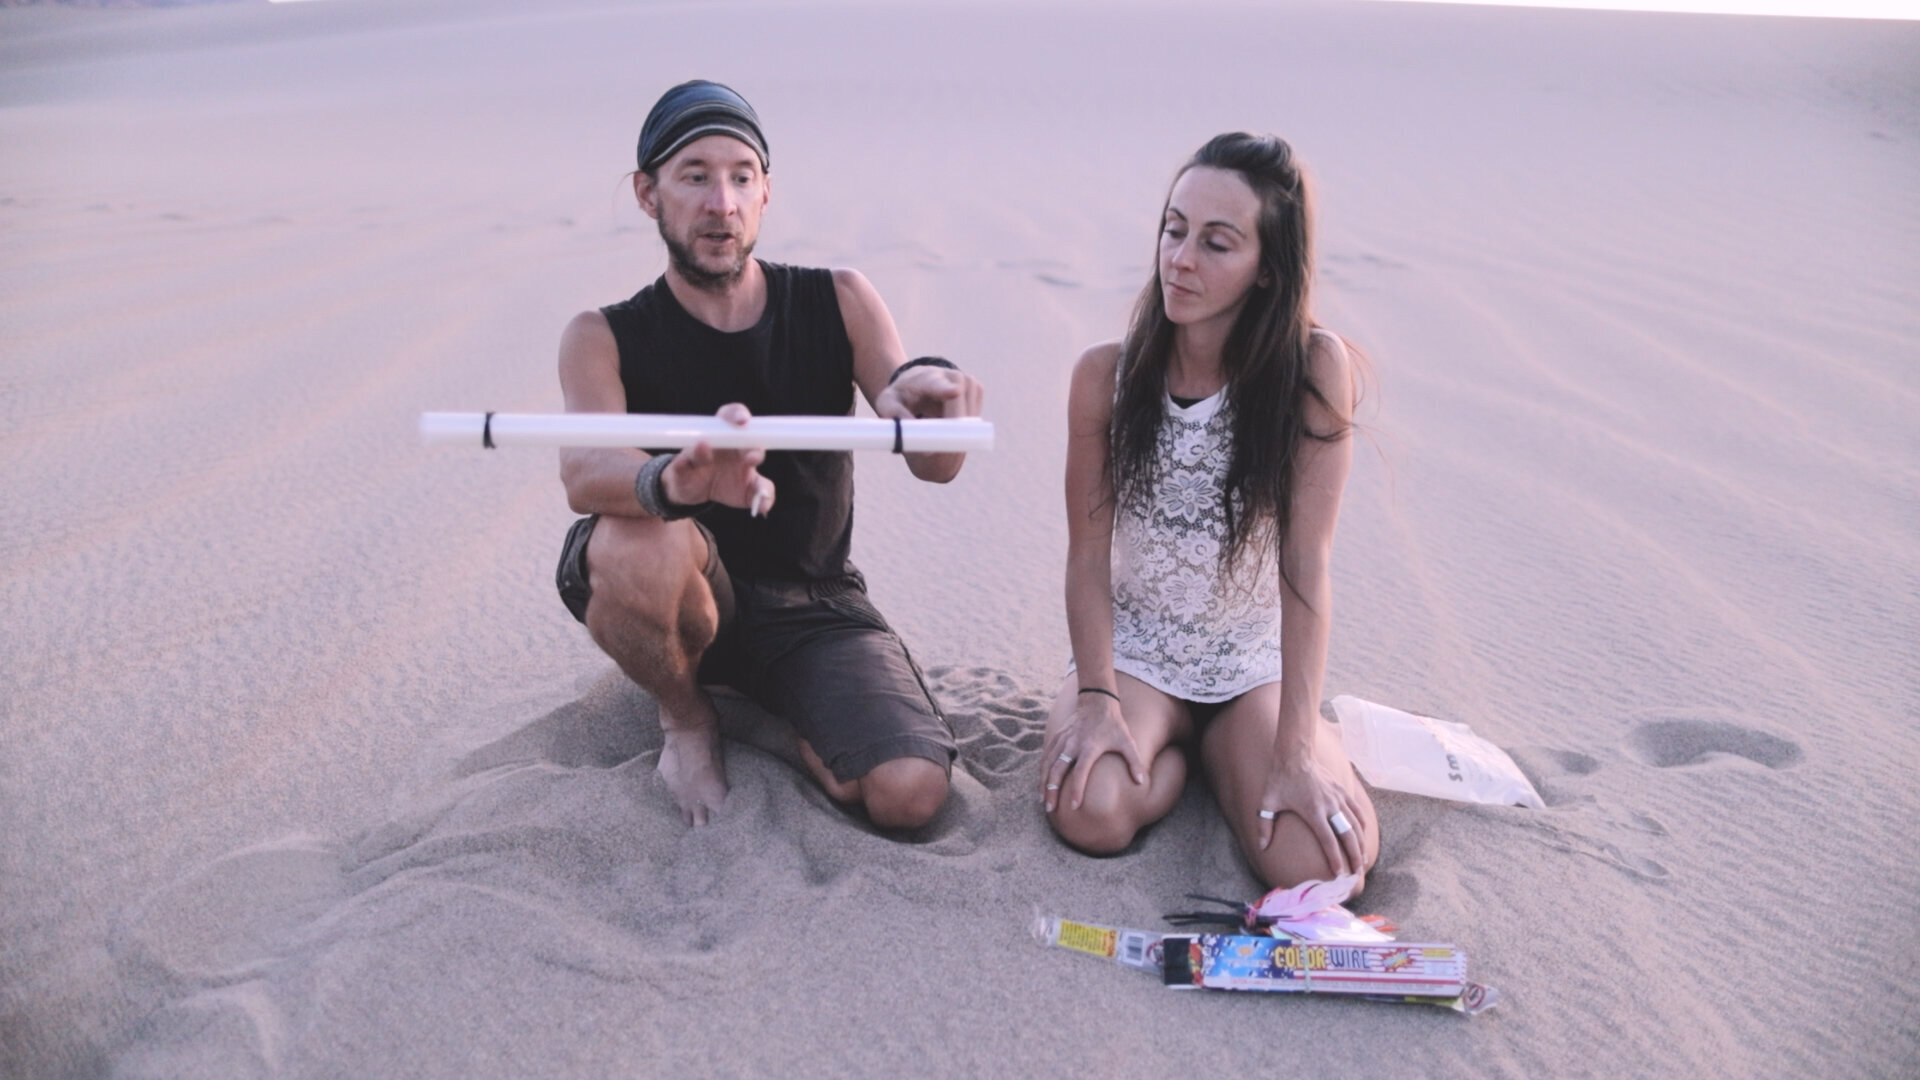
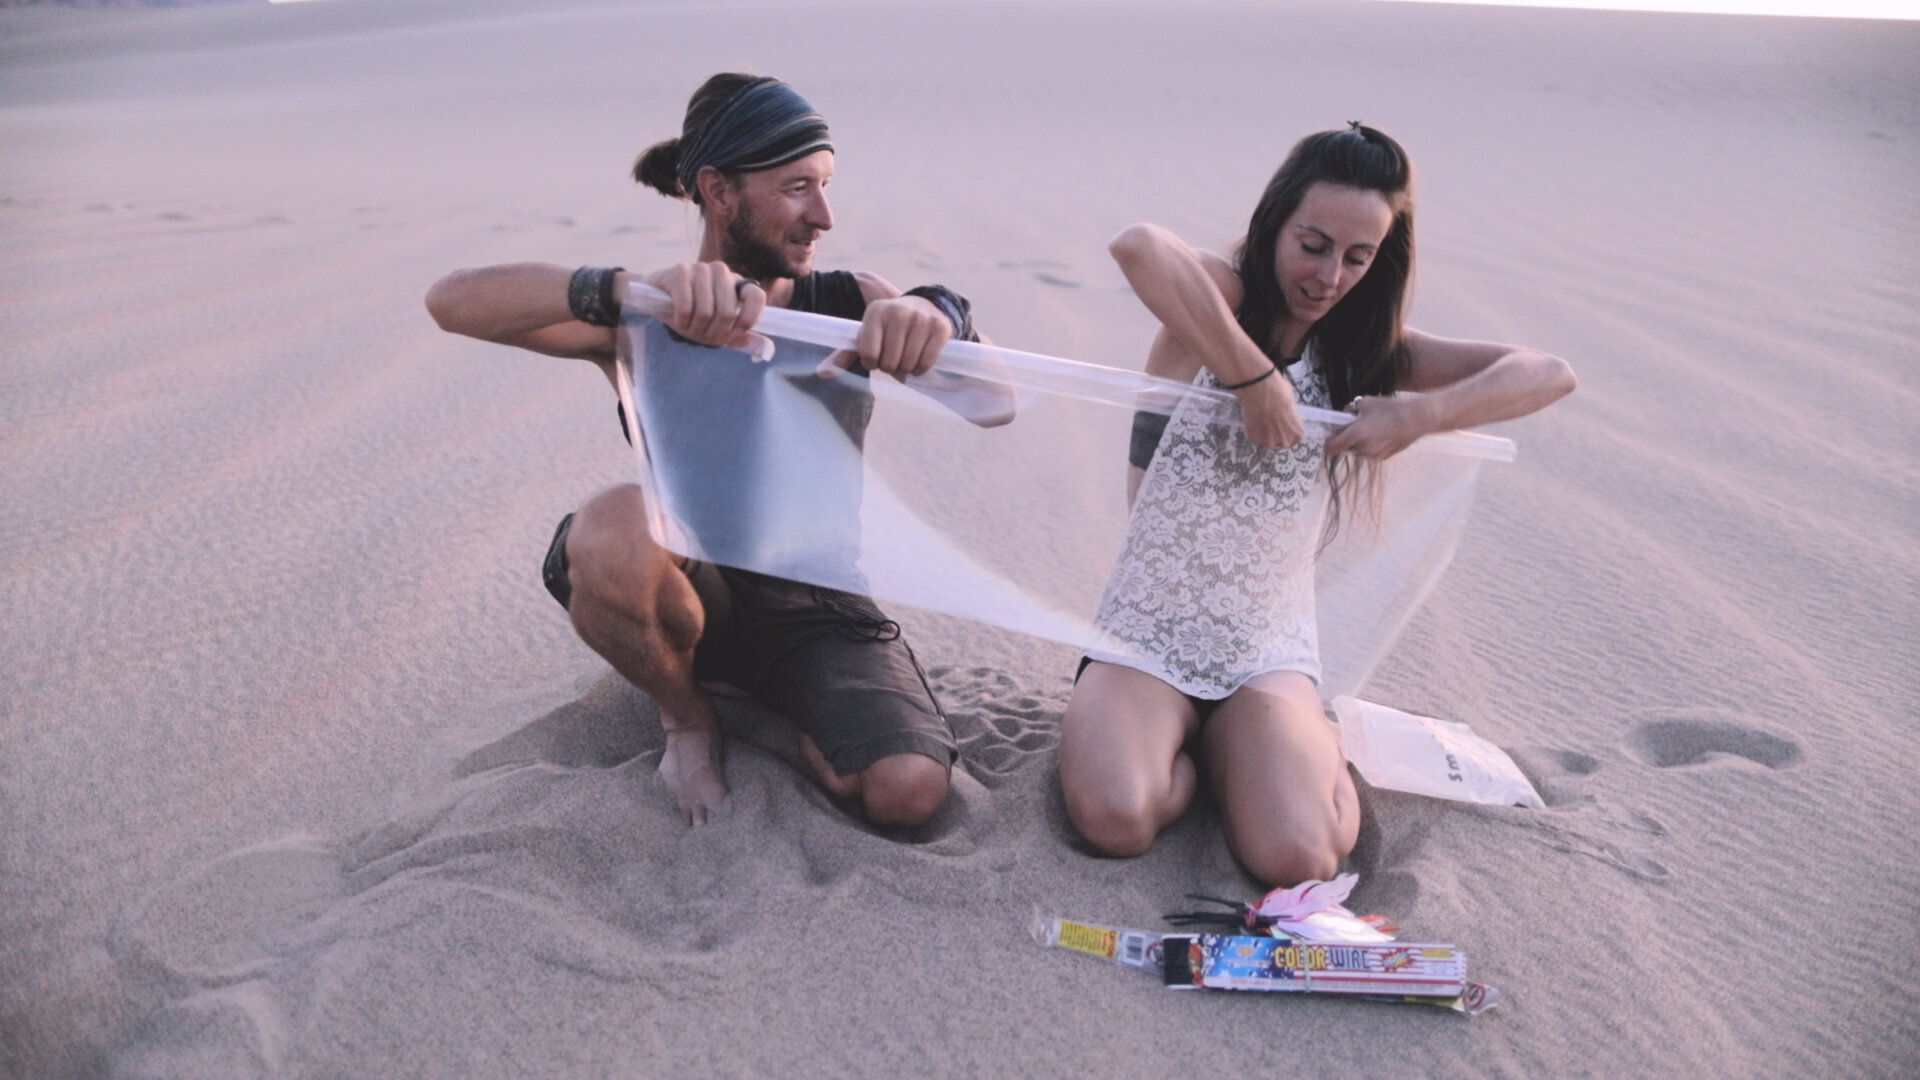
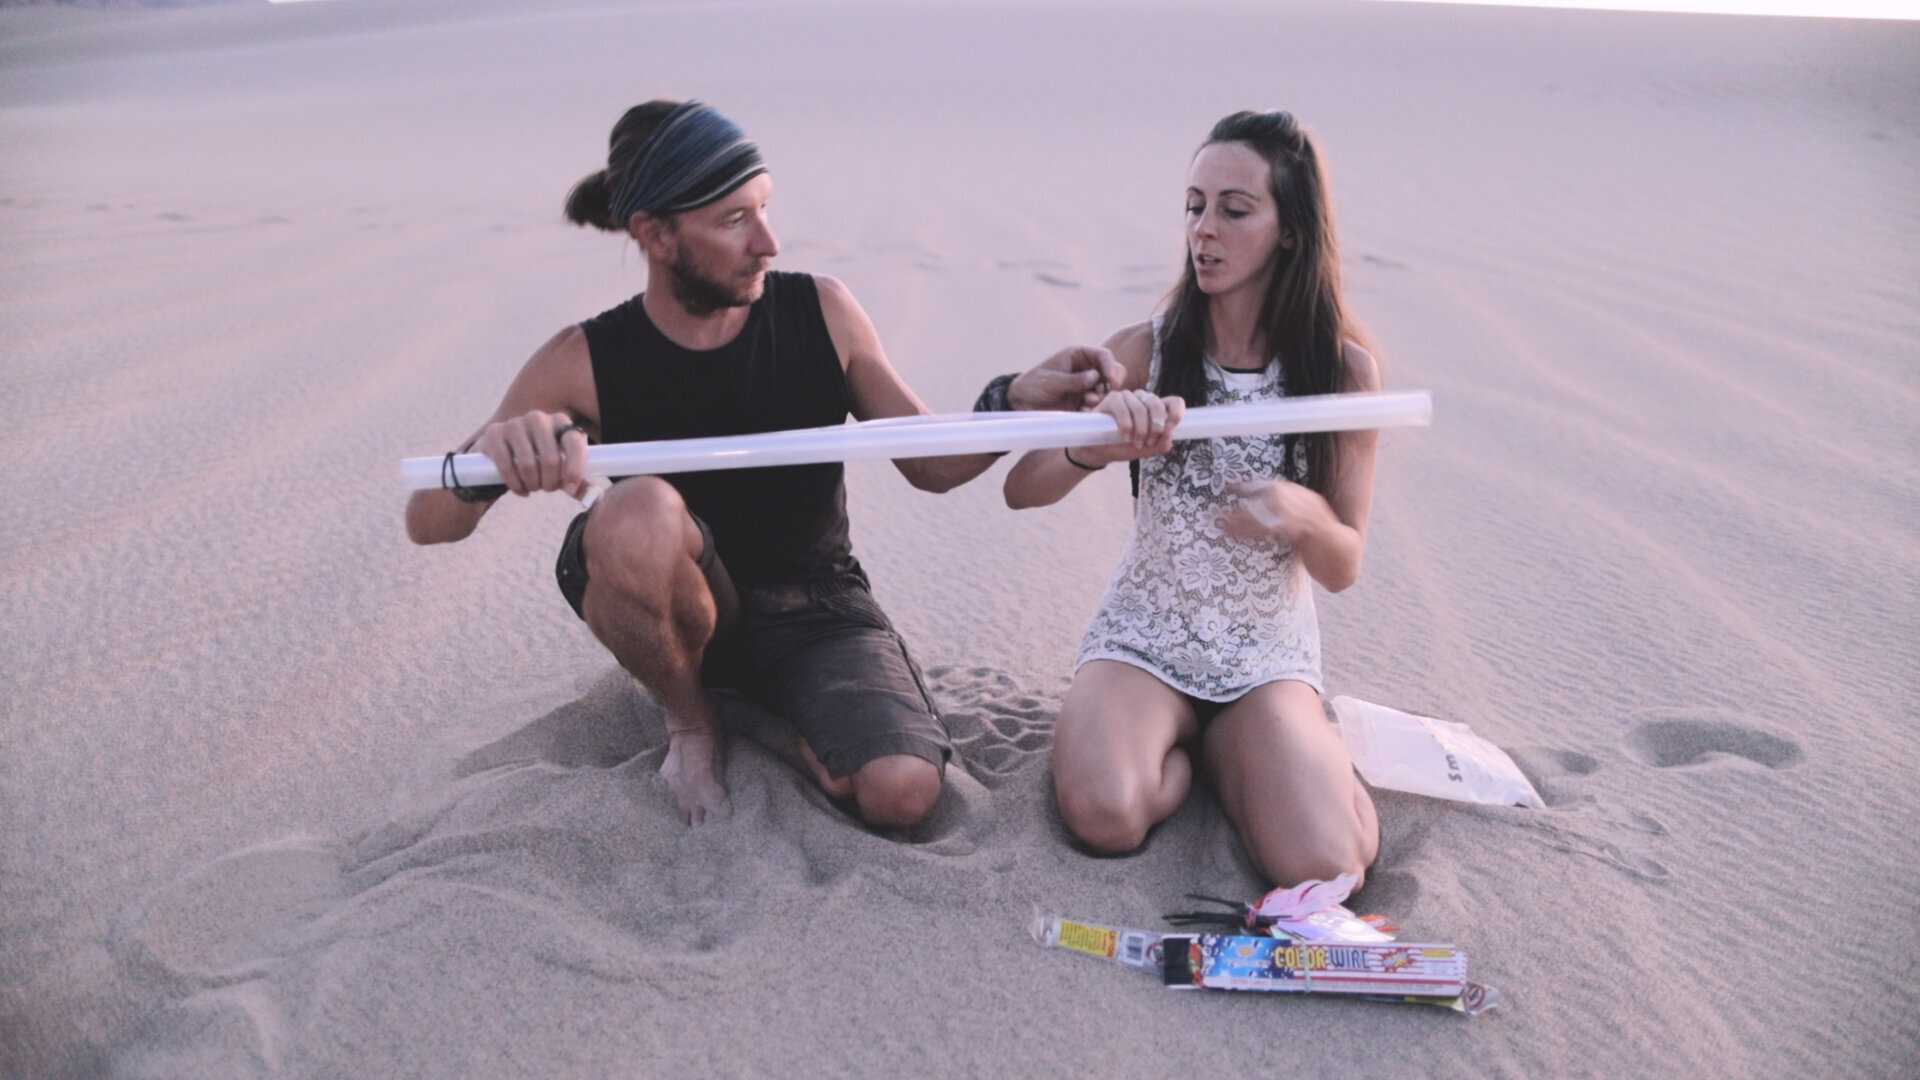
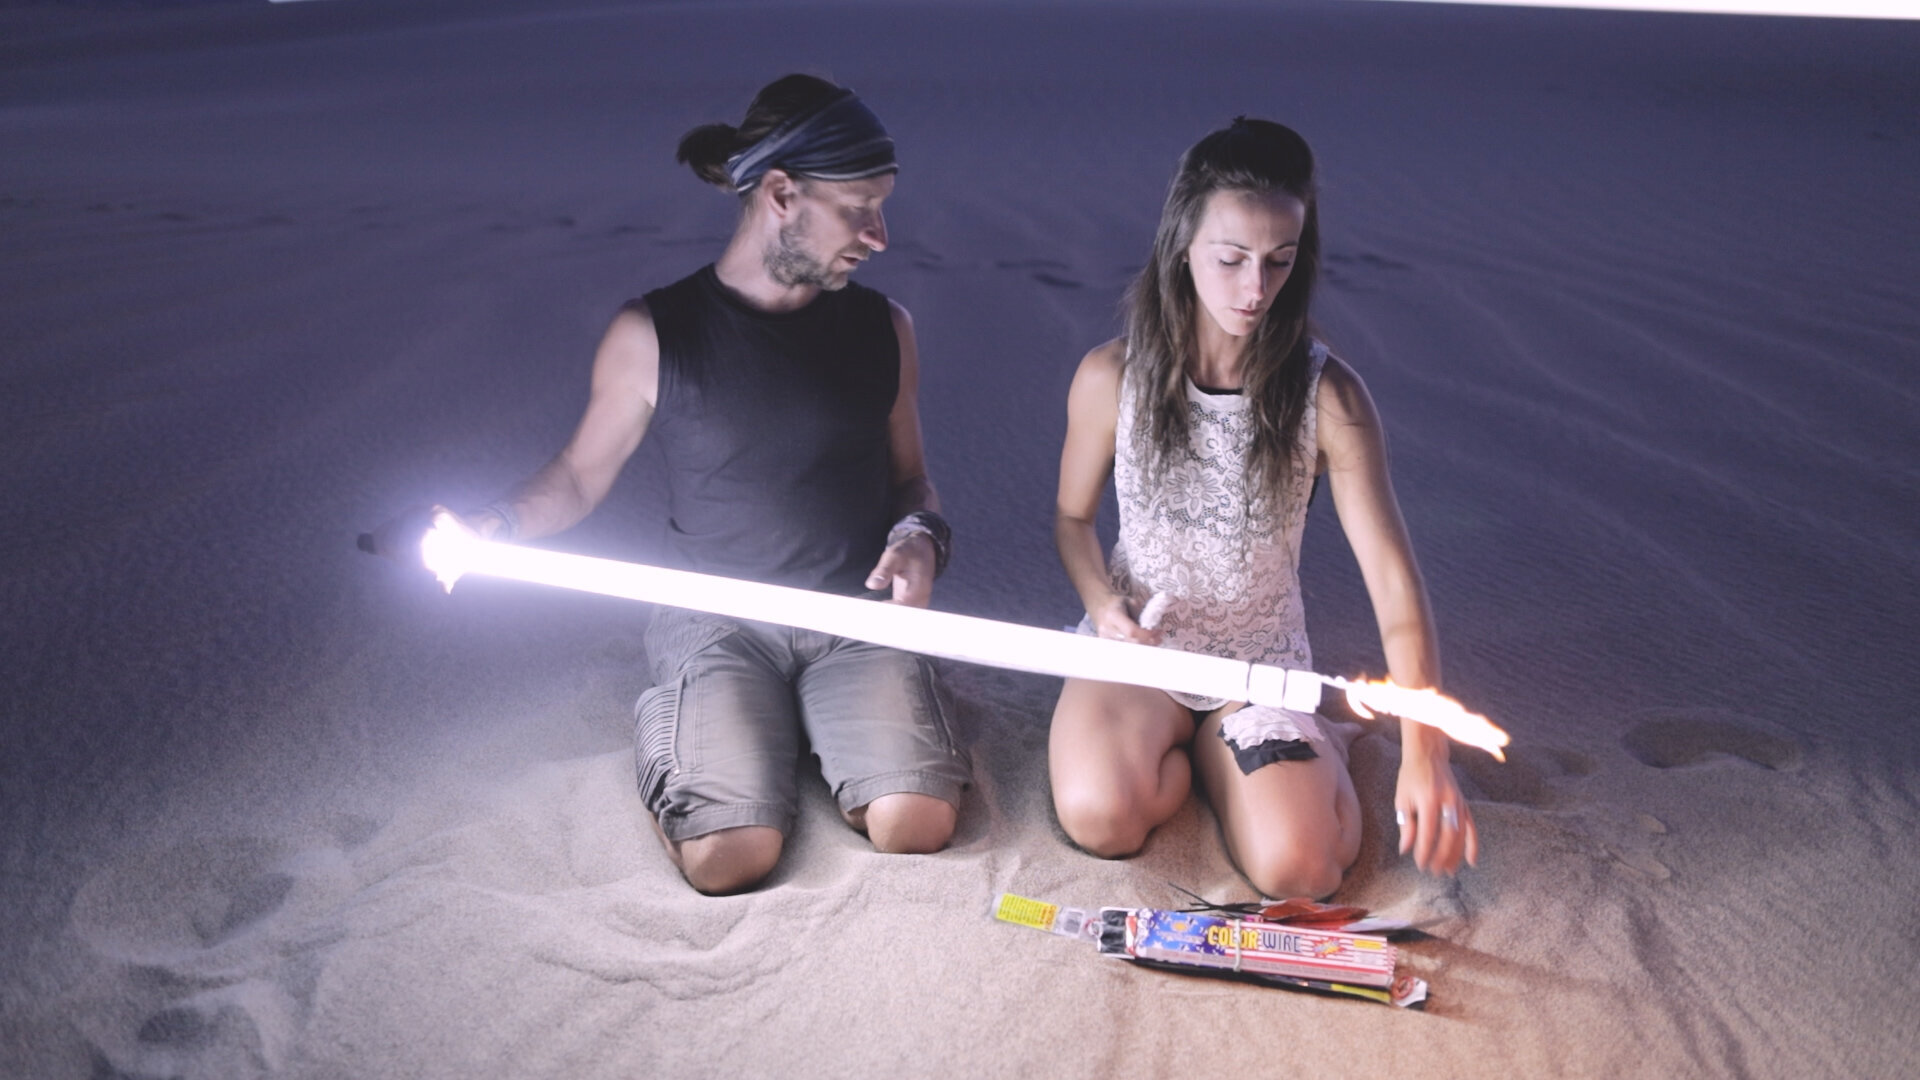
Even if I have access to the best tubes on the planet, I’m always looking for other ways of making them for the community or as an alternative to travel. This is by far the best option I have found for a rollable tube. The trick is to have a material that is wide enough (20 inches) which is going to make it a breeze to roll on one side (transport) or the other (light-painting tube)
Here’s the exact product I used for this video:
Grafix Clear 0.005 Dura-Lar Film Roll, 20-Inch by 25-Feet - https://amzn.to/2Q7hjQT
That night, we forced ourselves to work with this tube only, and I’m quite happy with the results even if it’s been a bit complicated at some point.
DIY Rollable tube (buy now on Amazon)
Pros
Easy to carry
Can fit any flashlight head size
Bright enough (due mostly to the multiple layers)
Inexpensive (22$ for 6 tubes)
Solid (doesn’t bend, as opposed to my previous diy solution: )
Cons
Very flimsy (it’s hard to keep the elastics firmly in place)
Harder to make colored ones
Setup takes longer (unroll, roll…)
Harder to work with accessories (caps can’t fit easily)
No black cover (my feet were visible on many of my shots)
Light-painting Tubes from lightpainting.store
Pros
Much brighter
Tons of colors available
Standard size for all tubes
Compatible with the caps and many accessories
Overall easier to work with (no un-rolling, very solid)
Black cover easily available
Cons
More expensive (starting at 25$ per tube)
Harder to travel with
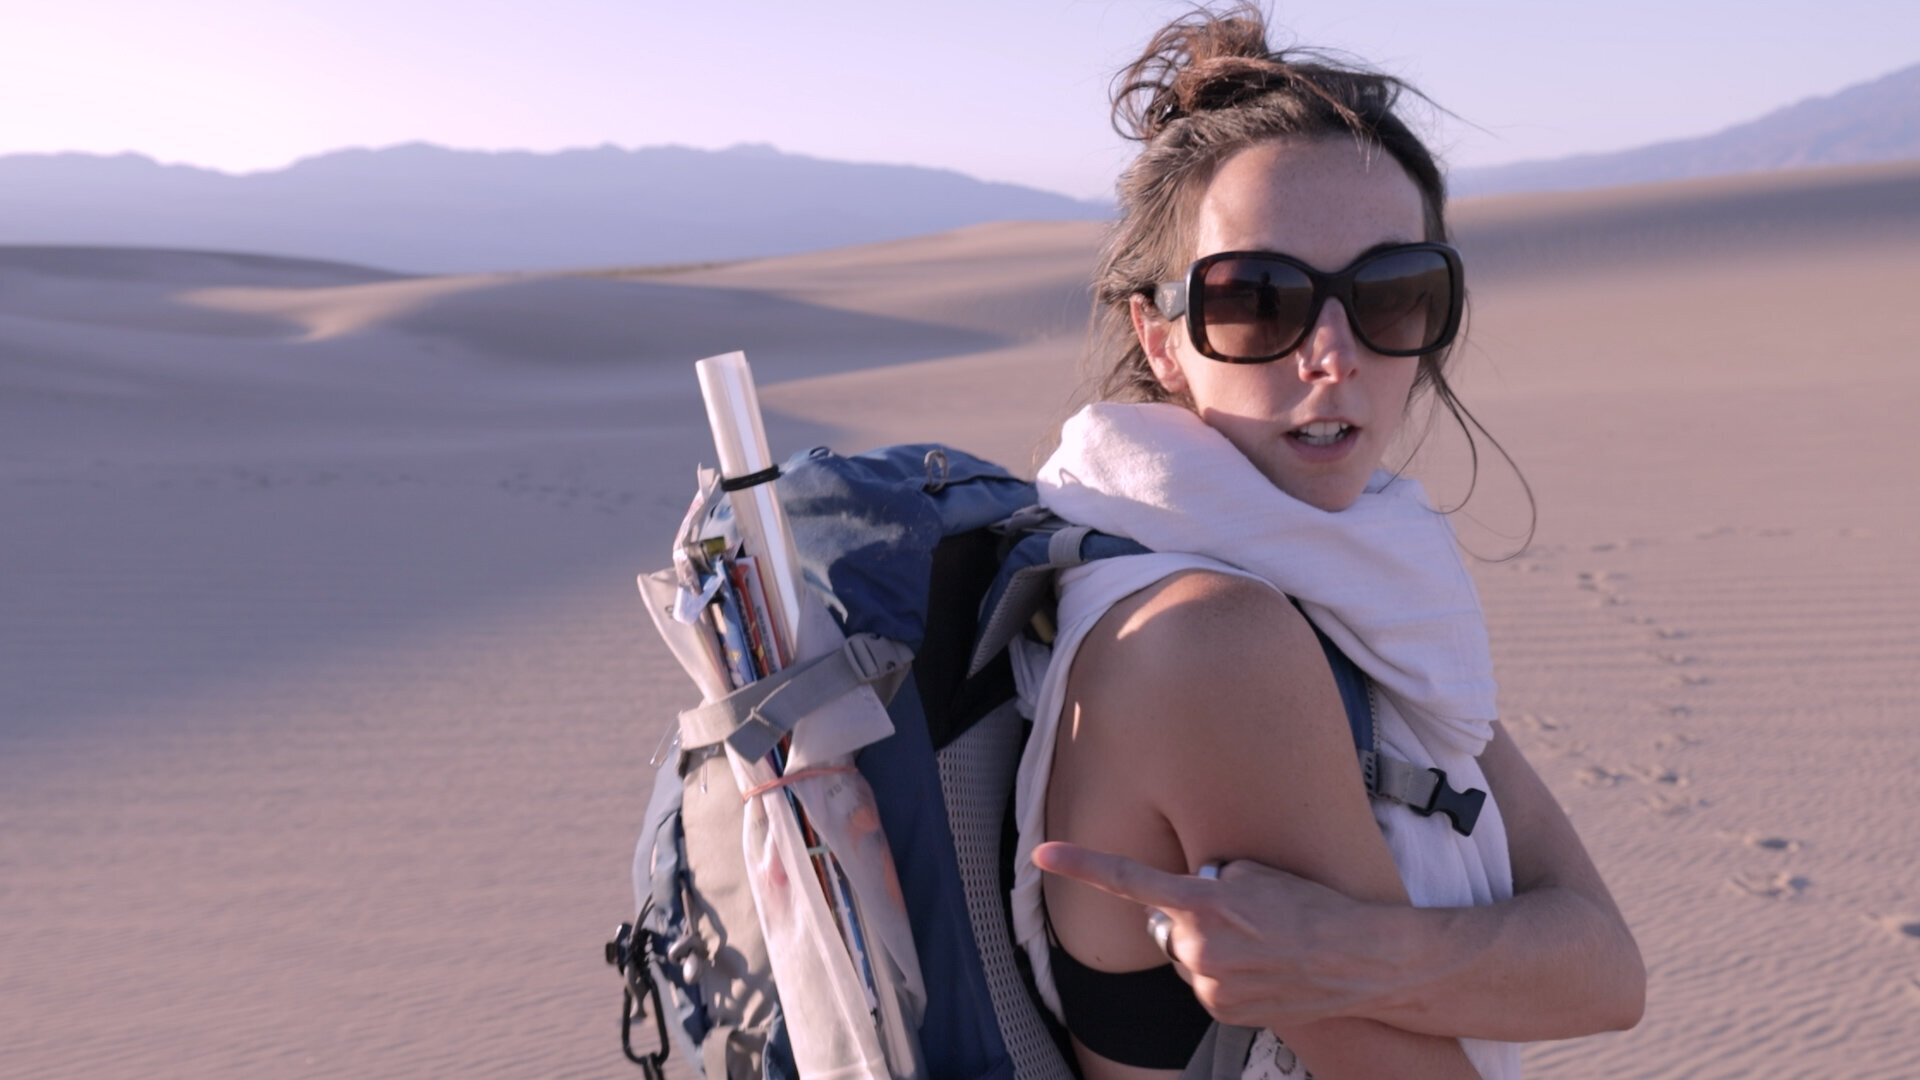
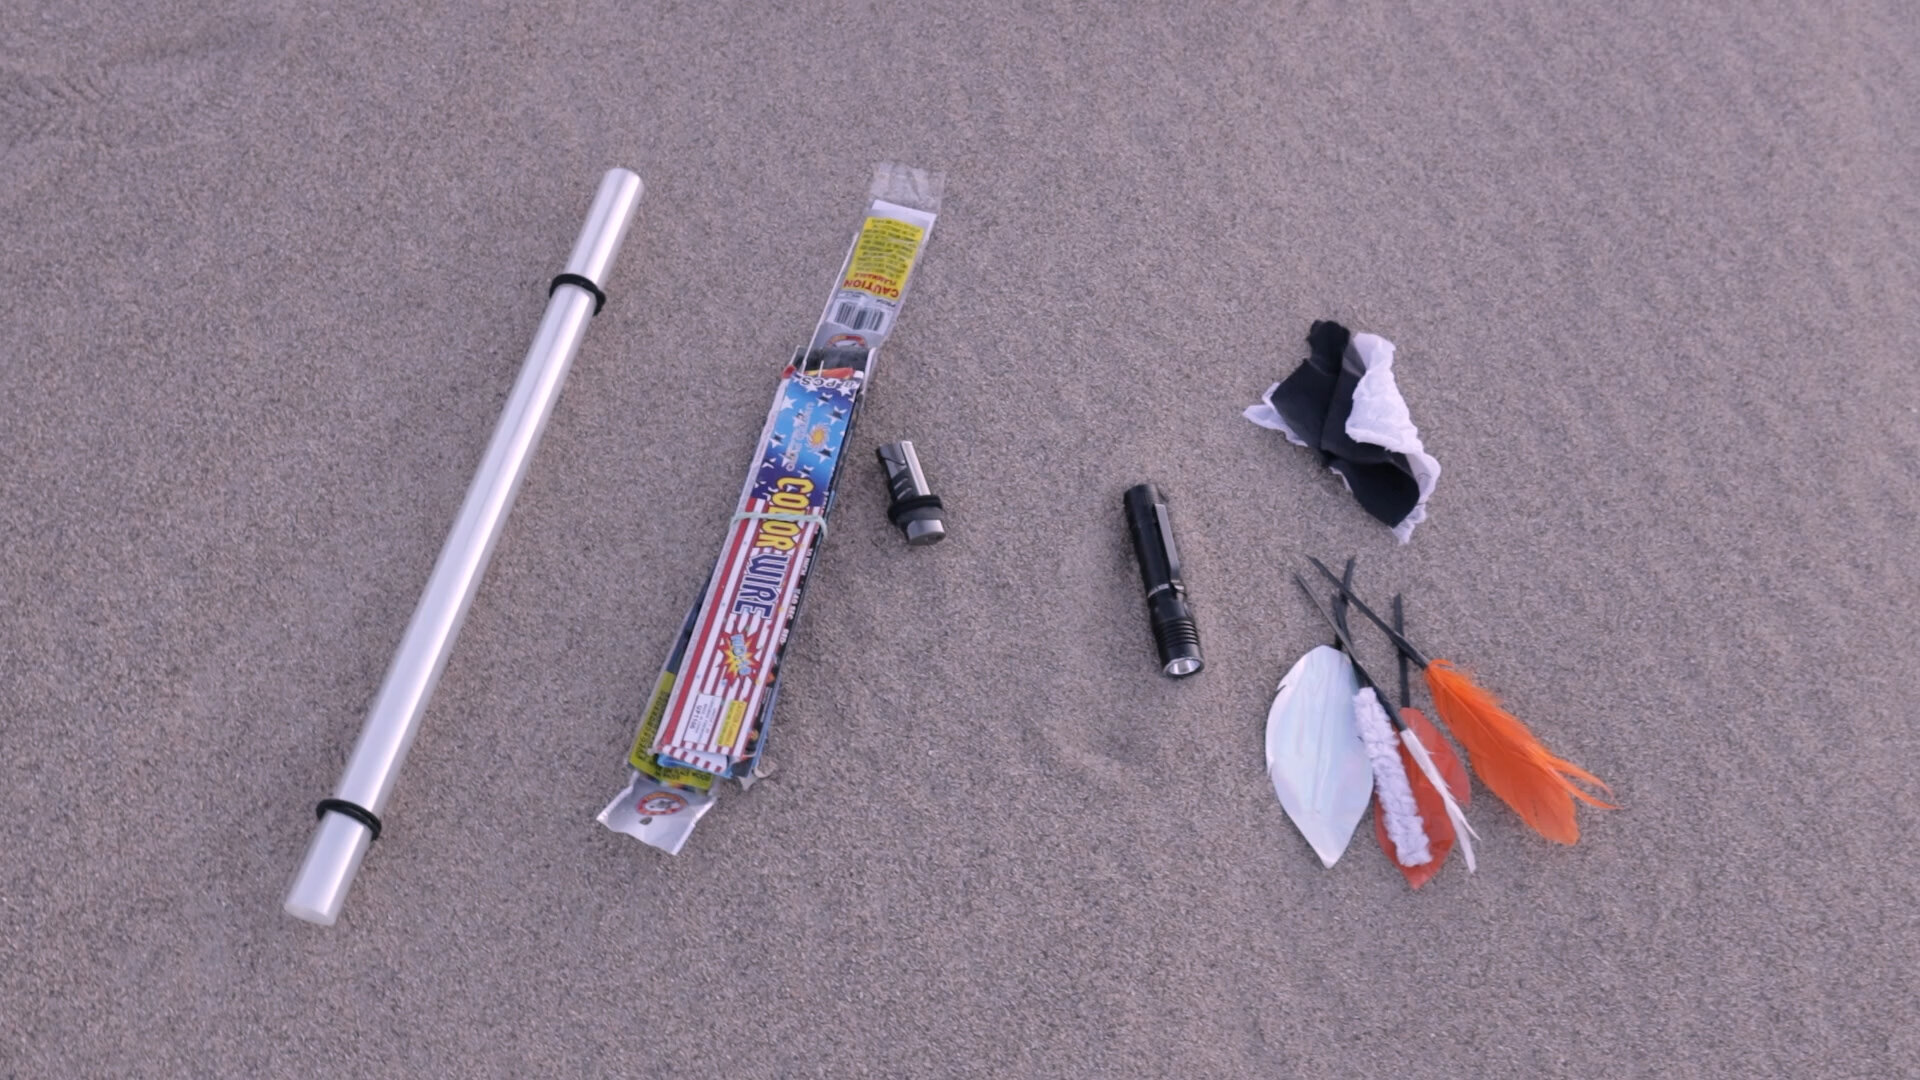
Everything we used to make this video! From left to right:
- The tube roll
- Birthday sparklers
- Butane lighter (works well even when it’s windy)
- Flashlight (Olight M1x non-striker)
- Black cloth (block the light), White cloth (bounce the light)
- Feathers and pipe cleaners (mounted on zip-ties)

