Blades
The light-painting blades are among the tools that give me the most control over shape. Compared with whips or squares, they create sharper and more defined edges, which makes them especially interesting when I want a more graphic result. I've been experimenting with blades since 2013, first with DIY versions before designing and producing my own more recently.
It is another simple tool that is not easy to master, but worth putting in the effort. Blades ask for precision in the movement, the angle, and especially the way the light is aimed around the subject. That precision is partly what gives them their character.
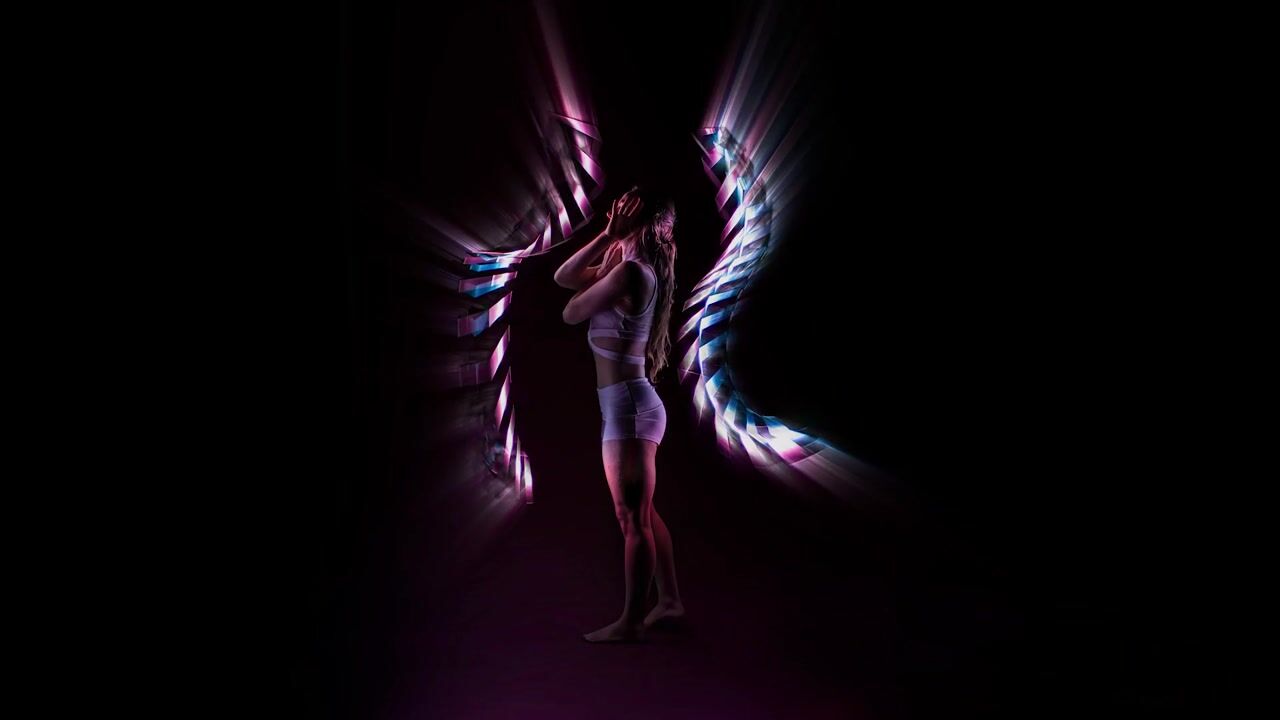
Images created between 2014 and 2024 with Kim Henry, Chanelle Allaire, and Diego
What it is
The light-painting blades are made of clear or frosted acrylic, and they come in different shapes and sizes. The ones we currently use can be attached directly to a flashlight using the AX2 extension.
Blades diffuse light while still creating some of the sharpest and most defined edges of any light-painting tool. They are more controlled and more graphic than whips. They are more directional and more defined than squares.
What makes them special is the combination of precision and texture, which also depends on the blade shape and the way it is moved.
The light quality will differ depending on if the acrylic is scratched/frosted or not. When frosted, it appears brighter and the trace is slightly less defined. We personally love the opposite: our Black Blades have a smaller surface where the light passes through, which emphasize the sharpness of the light-painting shapes.
Quick starting point
Because blades create a more defined light shape, they reward clean and deliberate movements. A bright flashlight (2000 lumens) is useful here too, to light the subject more easily and limit motion blur.
Suggested baseline to test:
Shutter speed: around 2 to 8 seconds
Aperture: around f/4 to f/5.6
ISO: 100 to 400
Adjust from there depending on the flashlight power, the distance from the subject, and how much of the frame you want to fill.
If you are just starting with blades, I would recommend keeping the composition simple at first. A dark background and a single light trace will help you understand the tool much faster. Blades are great tools to experiment with portraits and close-ups, especially when you want shorter exposures and more minimal light-painting traces. Because of their visual texture, blades can also be used to create beautiful abstract light painting.
How I use it
One of the main reasons I use blades is to create controlled traces with a strong shape identity.
I usually use the tip of the blade to light the model, because that part is brighter and less diffused than the rest of the tool. It gives me a cleaner and more efficient way to direct the light where I want it during the exposure.
Lately I've been doing more combinations, including double-blade setups or wrap my blade with light-painting squares (what we call the Sandwich), to create more complex light visuals or to increase the amount of light on the subject.
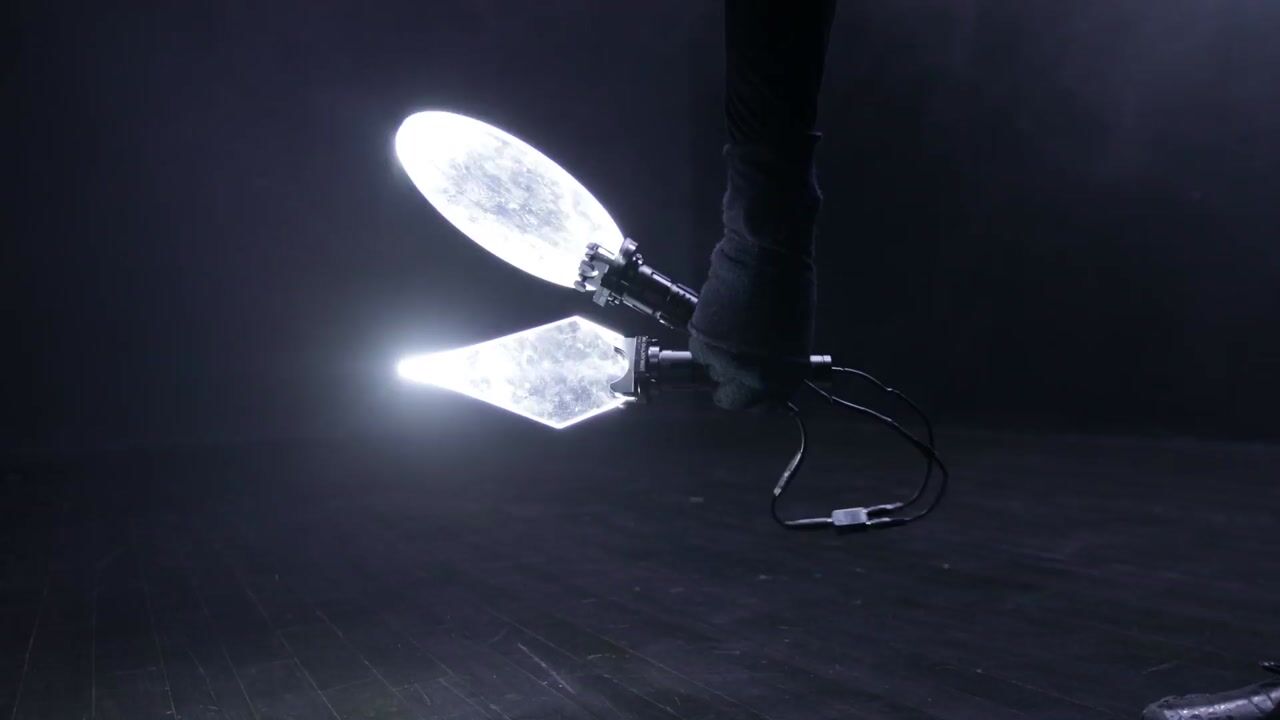
This is an image created with two blades, controlled by a single button using a DIY dual-remote switch.
The blade sandwich and an example of the visual we made with it.
The most important thing
Keep the movement clean and intentional.
Because blades produce more defined edges, small mistakes in angle, speed, or direction will show very clearly in the final image. If the subject is being lit during the move, the precision matters even more.
Blades do not hide hesitation very well. If the movement is awkward or uncertain, the image will usually show it.
It's also a bit harder to not be visible in the shot. It requires a lot of movement practice to make sure you don't direct the light at yourself while moving!
My usual workflow
1- Before shooting, I test the blade on the subject to understand how the light wraps and where the brightest parts land.
2- During the exposure, I light the subject with one controlled pass, then complete the shape without aiming more light back at them. Less is often more with this tool...
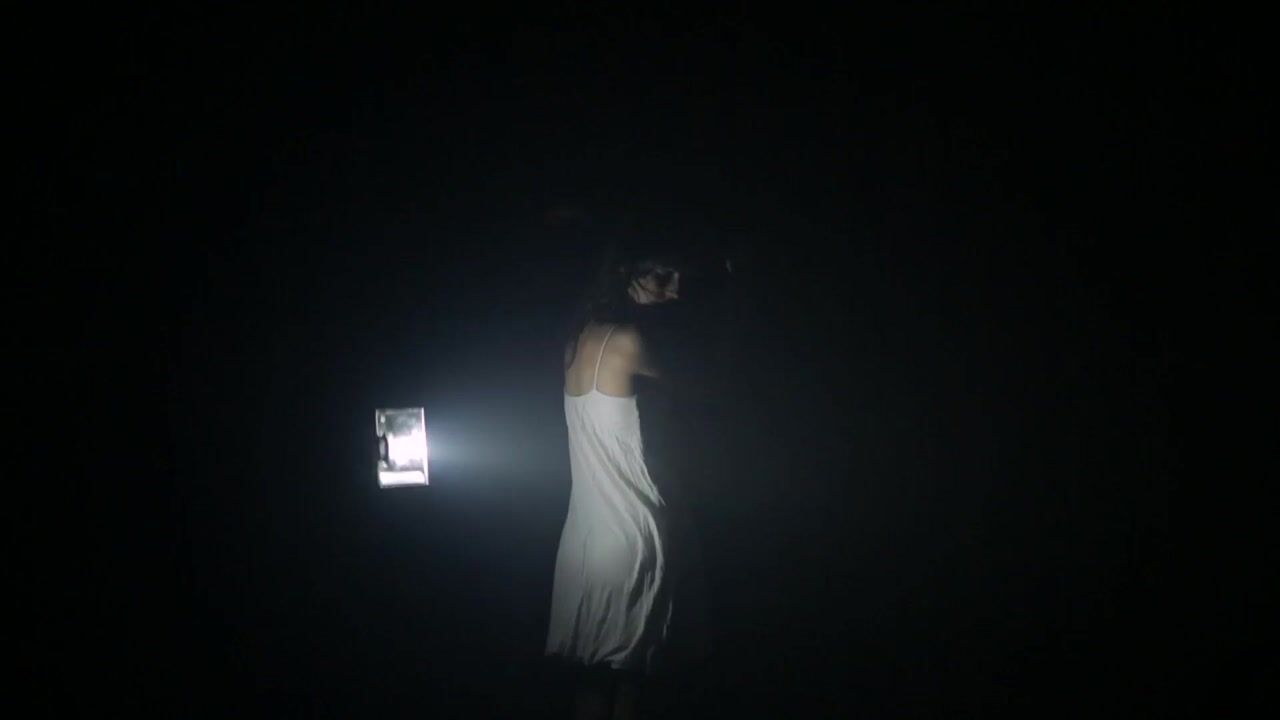
I always test the light on the subject and practice my shape before taking a shot.
In studio or outdoors
We love using blades in the studio, where it is easier to control the background, the reflections, and the visibility of the light painter.
Outdoors, blades are interesting, but they are harder to work with. The precision they require makes them less forgiving, and not being visible in the shot is quite challenging. That being said, there is still a lot to explore with them outside.
They can work especially well in dark, controlled environments, on reflective floors, or in compositions where the sharpness of the light trace is part of the visual impact.
That is one of the reasons we keep coming back to them in the studio. The environment gives us the control needed to really take advantage of what the tool does best.
This is one of the rare images we made with blade outdoors. It was taken in 2014. We're long overdue to experiment again with this tool in the wild!
Challenges
- It is not always easy to create a beautiful trace while lighting the subject properly at the same time.
- Any movement hesitation in the light painting becomes very visible in the image.
- Avoiding self-illumination can be difficult, especially when working close to the subject.
That difficulty is also part of what makes it satisfying. When a blade image works, it usually feels very intentional because there is not much room for approximation.
Where to find blades
DIY first
You absolutely do not need to buy these from us to start experimenting. Some of our earliest blade images were made with DIY acrylic blades attached directly to a flashlight using plumbing equipment.
If you enjoy building your own tools, this can be a very interesting path. It is a good way to test different shapes, sizes, and behaviors before deciding what kind of blade you prefer.
This is a DIY blade we were using in 2014, made with a piece of plexiglass inserted into a a piece of plumbing (reducer connector), then wrapped with tape.
Why I also make my own
The versions we make exist because I wanted a variety of options that were compatible with the simple system we have with the AX2 extension.
I also like having options that are designed specifically for the way we work. That includes our first edition of Black Blades, with more variations to come.
You can find our blades on Lightpainting.store