Light-painting whips
The light-painting whip is a tool I've been using mostly in studio since 2017. It has a very different personality than the other tools I use. It creates organic curves with a softer and more diffuse light quality than blades, and it can produce shapes that feel alive and slightly unpredictable.
It is a simple tool in principle, but it's harder to master than the tubes. Also, the result changes a lot depending on the length, the grip, and the way you move it during the exposure.
Images created with Mathilde Heuzé
What it is
The light-painting whip is made of large fiber optic cable that comes in various lengths.. The versions we make and use are compatible with the AX2 extension and attach by screwing directly onto it.
It is especially useful for creating curved traces with some thickness, while keeping the edges softer and smoother than what I usually get with blades. The light it produces feels soft, diffuse, and organic.
Depending on the length you use and how you hold it, the whip can create very different visuals. A short whip, when rolled up, creates dense and fluid light traces. A longer whip, especially when allowed to hang more loosely, creates traces that are less controlled but more organic, because it bounces and shifts with gravity as you move.
Examples of light-painting images using short, medium and long whips
Quick starting point
We recommend using a bright flashlight, around 2000 lumens if possible. The whip blocks a large part of the light, which makes it much a dimmer tool than blades, tubes, or squares.
That matters because the brighter the setup is, the less time you need to light the subject, and the easier it is to reduce motion blur.
Suggested settings to test:
- Shutter speed: around 8 seconds
- Aperture: around f/5.6
- ISO: 200 to 400
Adjust from there depending on the flashlight power and how much of the frame you want to fill.
How I use it
One of my favorite ways to use the whip is to roll it up. That creates a thicker light source and makes it easier to move with precision and to control the light direction on the subject.
I often use the tip of the whip, which is the brightest part, to light the model and sometimes the ground as well. I can use the rest of the exposure to create traces around the subject.
I also like using two whips at the same time. That gives me more total light in the scene and also makes it possible to combine two different colors in a single exposure. To get colors, simply add a small piece of colored gels (such as Lee filters or Rosco gels) between your flashlight and your whip.
This is how I hold the whip (rolled up) to control the direction of the light's tip.
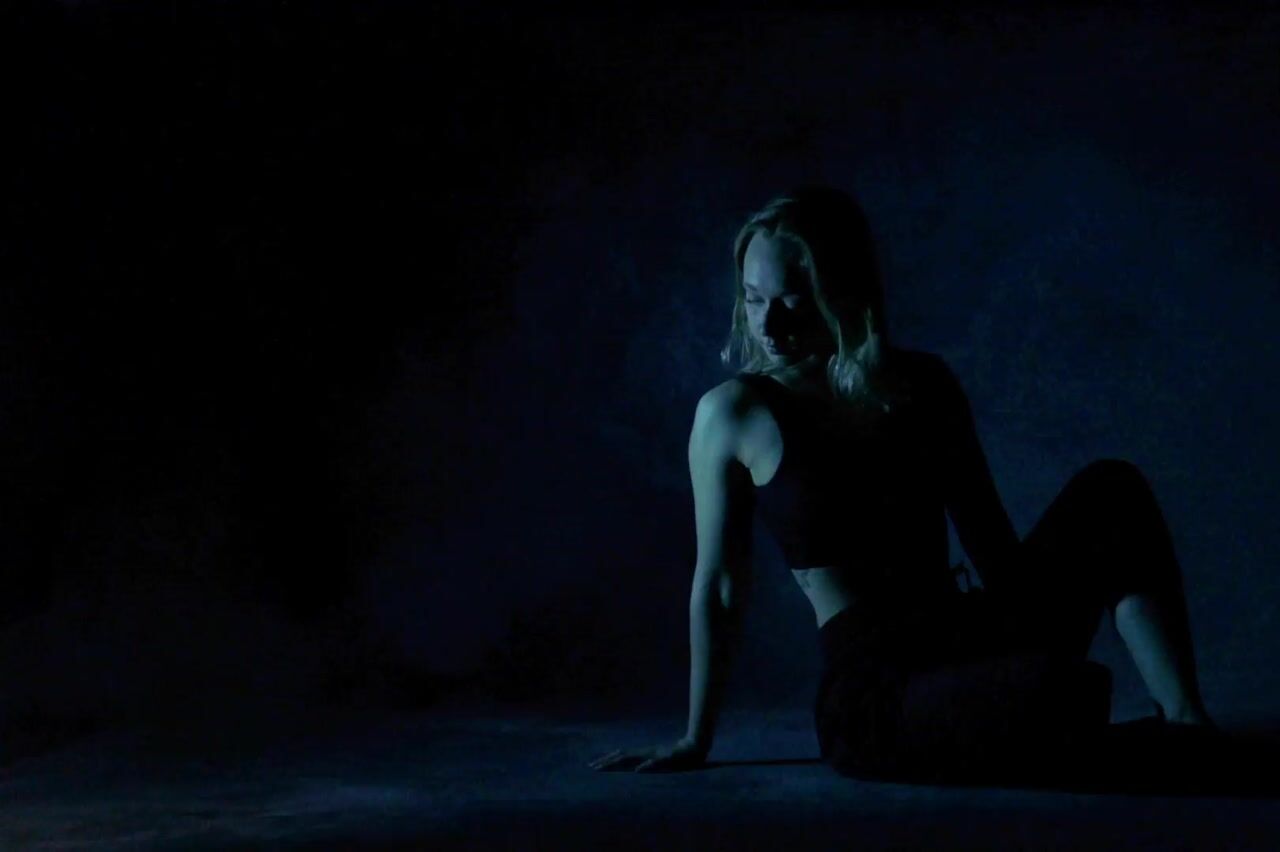
Use the tip of the whip to light the subject.
I control two whips with a single button using a DIY dual-remote switch.
The most important thing
Light the model only once during the exposure, ideally using the tip of the whip.
That single rule will give you a much better chance of keeping the subject sharp. If the model is illuminated more than once, even a small movement can create visible blur.
My usual workflow
- Before shooting, I roll up the whip and test the light on the subject to see how it behaves. Once I know the angle and distance I want, I start the exposure.
- Then I cross the scene from one side to the other and light the subject with a single pass, using the tip of the whip. The rest of the light-painting traces are not aimed at the model.
In this example I also used the white wall/floor to bounce light and create a brighter scene.
In Studio or outdoors
The whip can work in many environments, but not in the same way. In the studio, it is easier to isolate the traces against a dark background and keep the composition clean. Outdoors, the environment adds more complexity, especially through ambient light. We haven't experimented outdoors with the whip (yet!) but it's coming soon...
Because the whip creates a softer and dimmer light source, it needs to be taken in consideration in the composition and choice of environment to make sure the light-painting traces remain readable. It could pair well with black canvas or night style images, but less so for blue hour shots, for instance.
Where to find whips
DIY first
Back in 2021, we made a tutorial for a DIY connector that can be used to create needles, whips, and smaller fiber optics using mostly simple plumbing equipment. You'll find the instructions and video at lightpainting.art/news/diy-light-painting-needles-whips-and-fiber-optic.
If DIY is not your thing and you want a convenient and durable solution, you can find the whips we use on LightPainting.Store.
